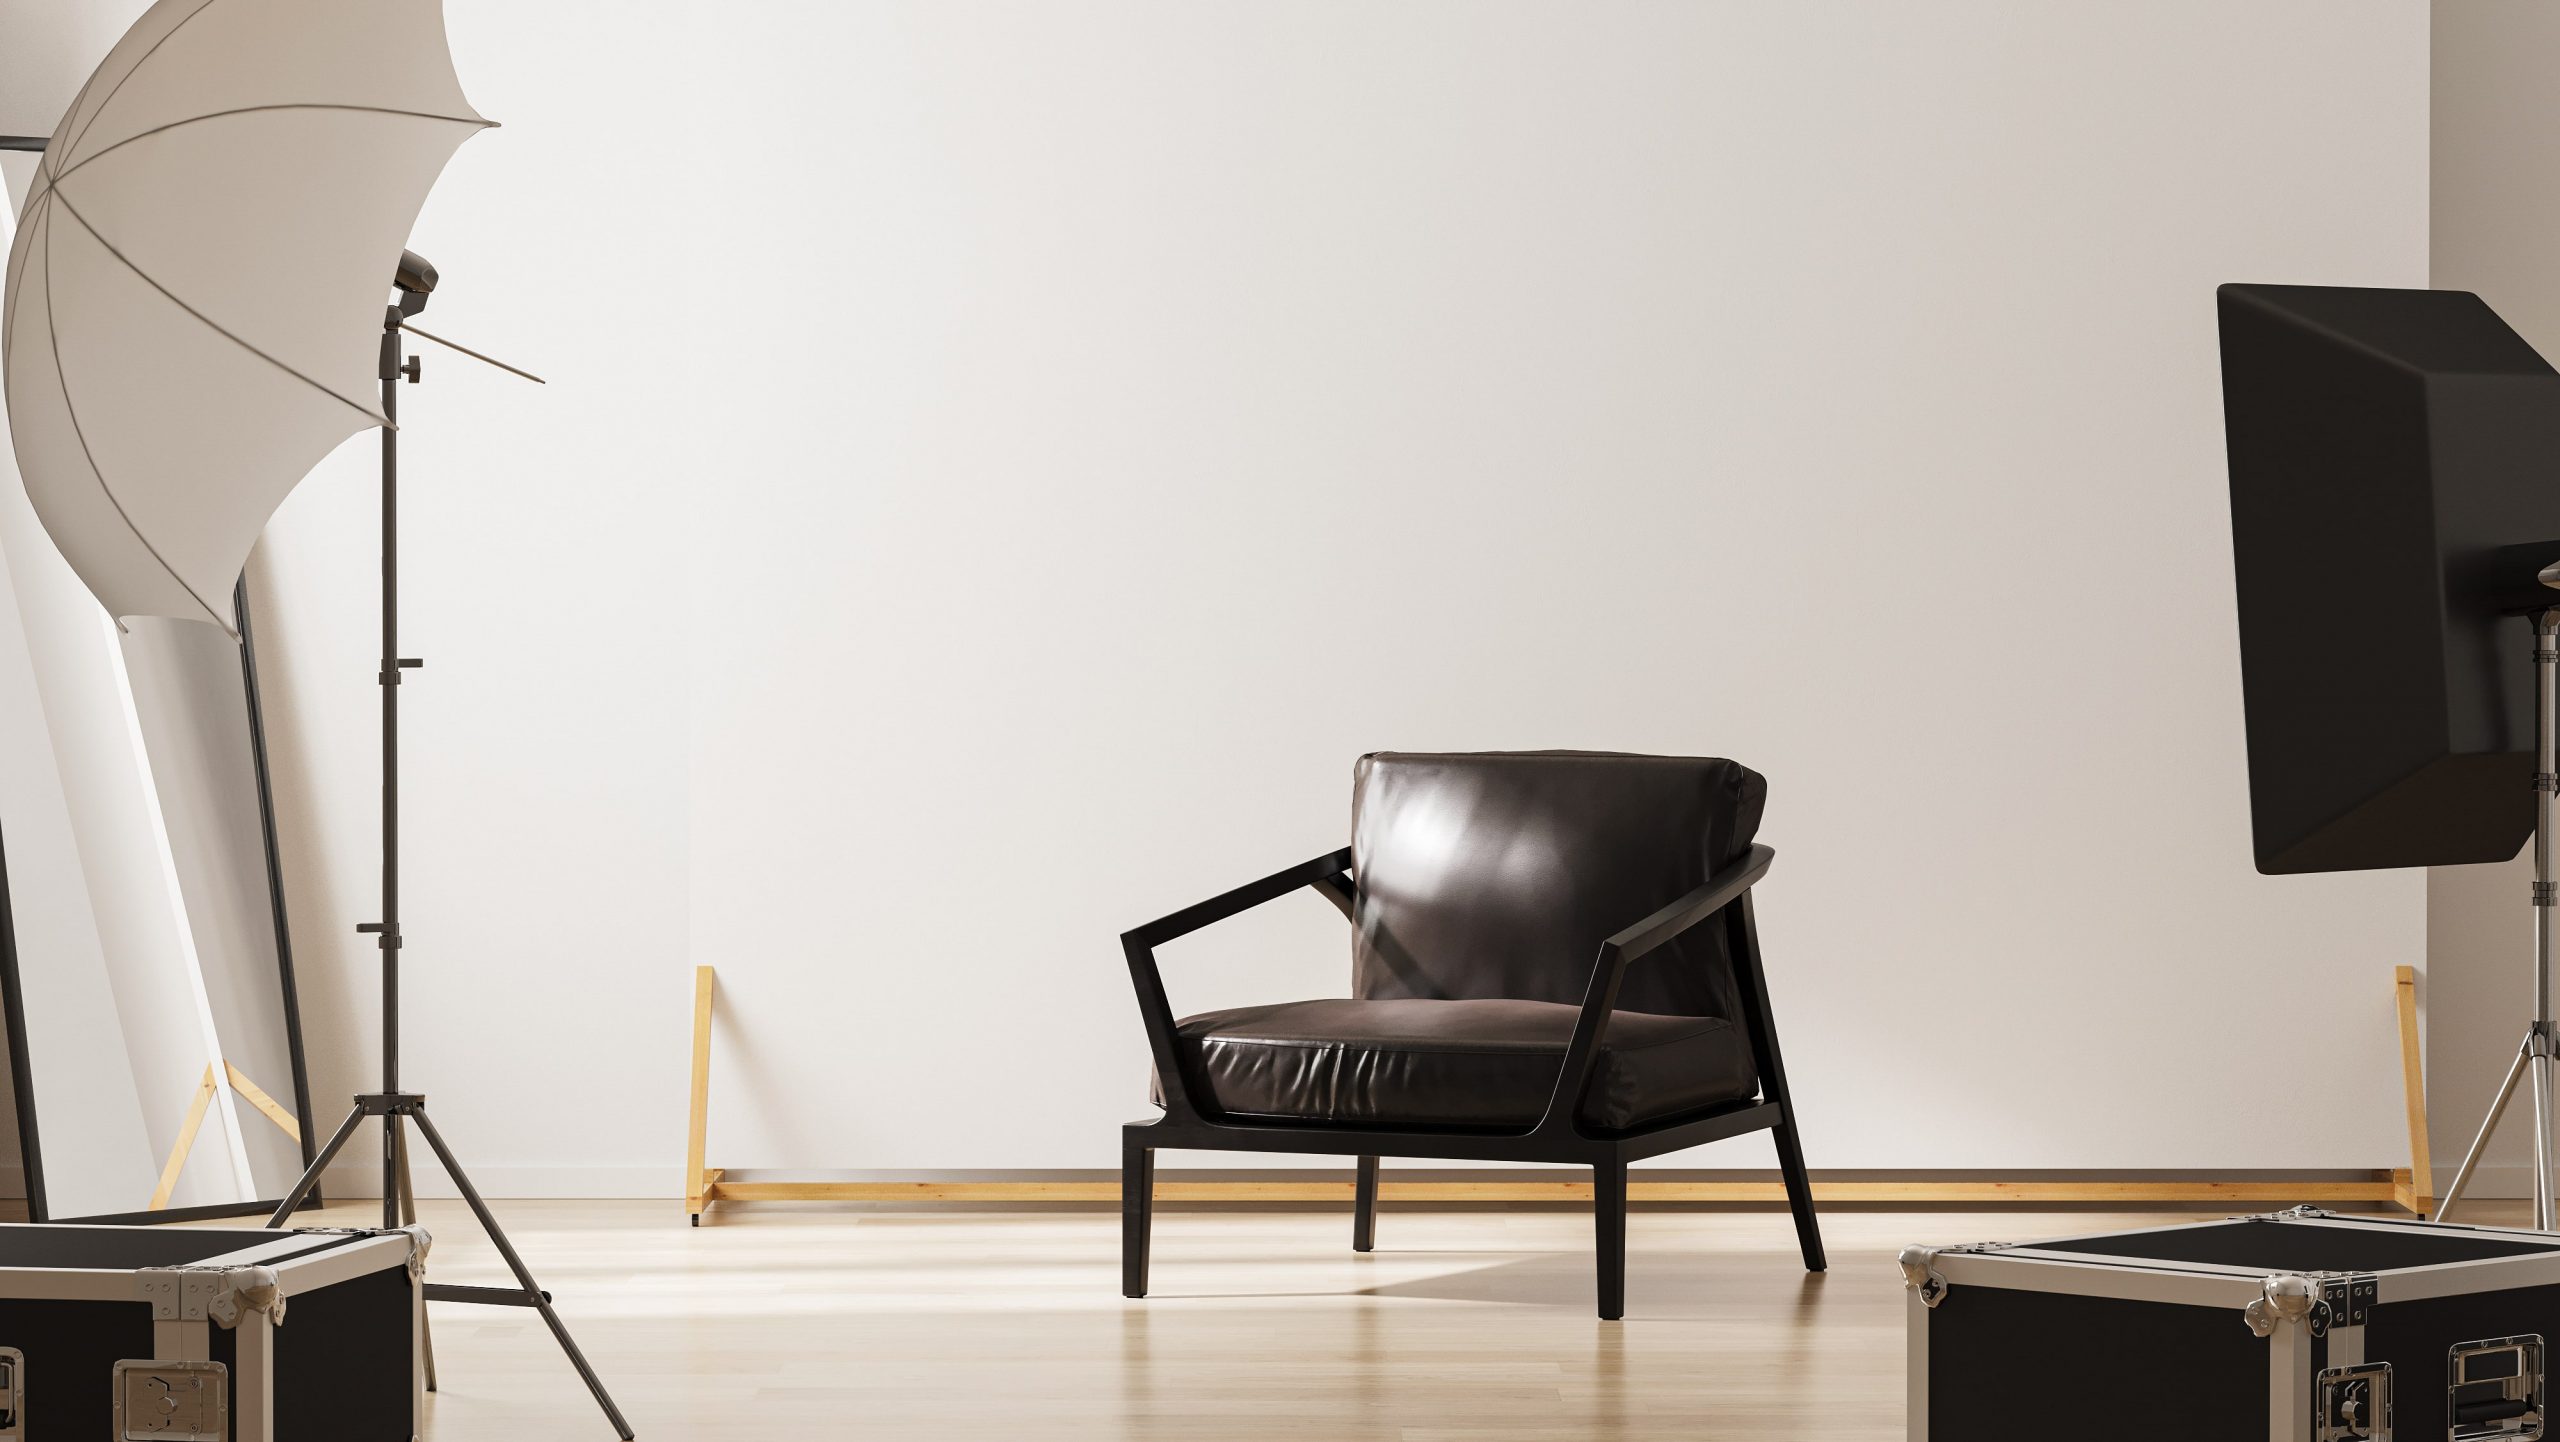
Are you a photographer who wants to set up your own studio? Or maybe you’re thinking about becoming a professional photographer and want to know what it takes to get started. Either way, setting up a photo studio can be a great way to take your photography to the next level.
Of course, there’s no one-size-fits-all answer when it comes to setting up a studio. The type of studio you’ll need will depend on the type of photography you do, and the space and budget you have available. But there are some basic things to keep in mind no matter what type of studio you’re setting up.
Here are some tips for setting up a photo studio:
1. Find the right space. The first step is finding a space that’s suitable for your needs. If you’re on a tight budget, you might want to consider renting a small space in an existing commercial building, such as a retail store or office complex.
If you have a little more to spend, you could look for a larger space in a dedicated commercial building or even convert a room in your house into a studio. Just make sure the space you choose has good lighting and is large enough to accommodate all the gear you need.
2. Invest in the right equipment. Once you have the perfect space, it’s time to start filling it with all the right gear. If you’re going to be doing portrait photography, for example, you’ll need things like backdrop stands, reflectors, and lights.
If you’re planning on doing product photography, on the other hand, you’ll need things like shelves, tables, and light boxes. And if you want to do both types of photography, you’ll need a little bit of everything!
3. Make sure your lighting is perfect. Lighting is one of the most important aspects of any photo shoot, so it’s important to get it right when setting up your studio. If possible, try to get natural light from windows or skylights. Supplement this with artificial lights as needed.
4. Choose the right backdrop. The backdrop you choose for your photos will depend on the type of photography you do. If you’re doing portraits, for example, you might want a plain white backdrop or a simple fabric backdrop in a neutral color.
If you’re doing product photography, on the other hand, you might want a plain black backdrop or something more elaborate that matches your brand identity. There are endless possibilities when it comes to backdrops, so take some time to browse around and find something that’s perfect for your needs.
5. Invest in some props. Props can be a great way to add interest to your photos, especially if you’re doing product or still-life photography. Things like vases, bowls, blankets, and books can all make great props. Just make sure they complement the overall aesthetic of your photos.
6. Edit your photos like a pro. Once you’ve taken some great photos, it’s time to edit them and make them look their best. If you’re not confident in your editing skills, there are plenty of online tutorials or even professional editing services that can help you out.
7. Print or share your photos online. Finally, once your photos are looking their best, it’s time to print them or share them online! If you’re planning on selling your photos, there are plenty of online platforms where you can do this (such as Etsy or 500px). Otherwise, simply sharing them on social media or printing them out for yourself is a great way to enjoy your work!
Photo Studio Equipment
As a photographer, having the right photo studio equipment is essential to capturing the perfect shot. But with so many different types of equipment available on the market, it can be difficult to know which pieces are essential for your studio.
To help you get started, here is a list of must-have photo studio equipment for any photographer:
1. Camera
Obviously, the most important piece of equipment for any photographer is a camera. But with so many different cameras available on the market, it can be hard to know which one is right for you.
Do some research and read reviews to find the best camera for your needs and budget. And don’t forget to invest in a good quality lens!
2. Tripod
A tripod is a must-have for any photographer, especially if you’re shooting in low light conditions or doing long exposures. A tripod will help keep your camera steady and prevent blurry photos.
3. Flash
A flash is another essential piece of equipment for any photographer. A flash will help you take better photos in low light conditions and can also be used to create interesting lighting effects.
4. Reflector
A reflector is a great way to bounce light back onto your subject, resulting in a softer and more flattering light. Reflectors are especially useful when shooting outdoors in direct sunlight.
5. Backdrop
A backdrop is a great way to add some interest to your photos and make them stand out from the crowd. Backdrops come in a variety of colors and patterns, so choose one that complements your style.
6. Props
Props are a great way to add some personality to your photos and make them more fun. Choose props that fit with the theme of your shoot and that your subjects will enjoy using.
Choosing Different Background for Photo Studio
Choosing the right background for your photo studio can be the difference between a great photo and a not-so-great photo. There are many factors to consider when choosing a background, including the type of photography you’re doing, the location of your shoot, and the overall look you’re going for. Here are a few tips to help you choose the perfect background for your next photo shoot!
1. Consider the type of photography you’ll be doing.
If you’re shooting portraits, you’ll want a background that’s simple and clean so that it doesn’t distract from the subject. A solid color or textured fabric is usually best for this type of photography. If you’re shooting product photography, on the other hand, you’ll want a background that’s more interesting and shows off the product. A textured surface or patterned background can be good for this.
2. Consider the location of your shoot.
If you’re shooting indoors, you’ll have more control over the background than if you’re shooting outdoors. If you’re shooting outdoors, pay attention to the surroundings and choose a background that complements the scene. For example, if you’re in a park with trees and green grass, a solid green backdrop would look out of place.
3. Consider the overall look you’re going for.
Are you going for a simple and classic look or something more modern and edgy? Your choice of background should reflect the overall aesthetic you’re going for. A neutral background like white or black is always safe, but don’t be afraid to experiment with different colors and textures to see what works best for your particular style.

